How to Be a Good Bird Photographer
May 18, 2024
- •
- •
- •
Birds are some of the most popular things in nature to photograph. They can also be some of the most difficult, but for those up for the challenge, it’s worth it.
By Nick Carter
Read the PDF version here.
There comes a time in the lives of many nature lovers when we want to preserve the memory of what we’ve seen in the wilderness long after the moment has passed. This, of course, leads us to photography. Nature photography is a rewarding and, when done right, low-impact way of capturing a moment with a wild species. It used to be that amateur naturalists recorded the organisms they encountered by shooting, stuffing, pinning, and plucking whatever they wanted to preserve for themselves. Nowadays we can “collect” specimens in the form of photographs and leave nature unharmed.
The gear and techniques used to photograph wild species vary to some degree depending on your intended subject. Birds are some of the most popular things in nature to photograph. They can also be some of the most difficult, but for those up for the challenge, it’s worth it. To be a good bird photographer, you’ll need to be a good birdwatcher and a good photographer; part scientist, part artist. Both can look intimidating to outsiders. Don’t be afraid though — it’s a lot of fun and, with enough practice, you’ll get there. We were all beginners at one point.
For the uninitiated, birdwatching is simply the hobby of knowing where to find wild bird species, getting a look at them, and identifying what you see. Non-photographers use binoculars or a spotting scope to view birds at a distance, while for those taking pictures, it’ll be a telephoto lens. More on that later. Aside from a usable set of optics, a field guide to the birds of your area is a good thing to have if you care about knowing what species you’re looking at — and why wouldn’t you? Moreover, field guides can also be helpful in knowing where to go to find a particular species you might be interested in seeing. Don’t worry about memorising every bird in there. Instead, focus on identifying each bird as you see it. Eventually, you’ll become familiar with more and more species and will recognize them with ease.
Going out as often as you can and spending time looking for birds is the best way to get better at it, and if you can go on outings with experienced birders, all the better. Local nature clubs, societies, and other such groups can help to facilitate this, and in my experience, many of them tend to have plenty of members who are also passionate nature photographers.
With that, on to the photography aspect. Bird photographers have it hard compared to those who take portraits in studios. Lighting, weather, outdoor hazards, and uncooperative subjects are just some of the things we struggle with regularly. But the rules of photography remain the same. For gear, you’ll need a camera body and a powerful telephoto lens.
Unless you’re a real photography geek don’t worry too much about what exact type of camera body you use — the lens is the really important part. You’ll need something that will make wildlife look closer. Most birds out there are pretty small, often far off, and will fly away if you get too close. A 300mm lens is the recommended minimum for general wildlife photography needs, and for the most part, the further your lens focuses, the better.
It’s also important to understand your camera’s settings and how to make the most of them to get the best wildlife photos you can. This is where the general fundamentals of photography come into play; the balance of exposure, shutter speed, and sensitivity to light (or ISO).
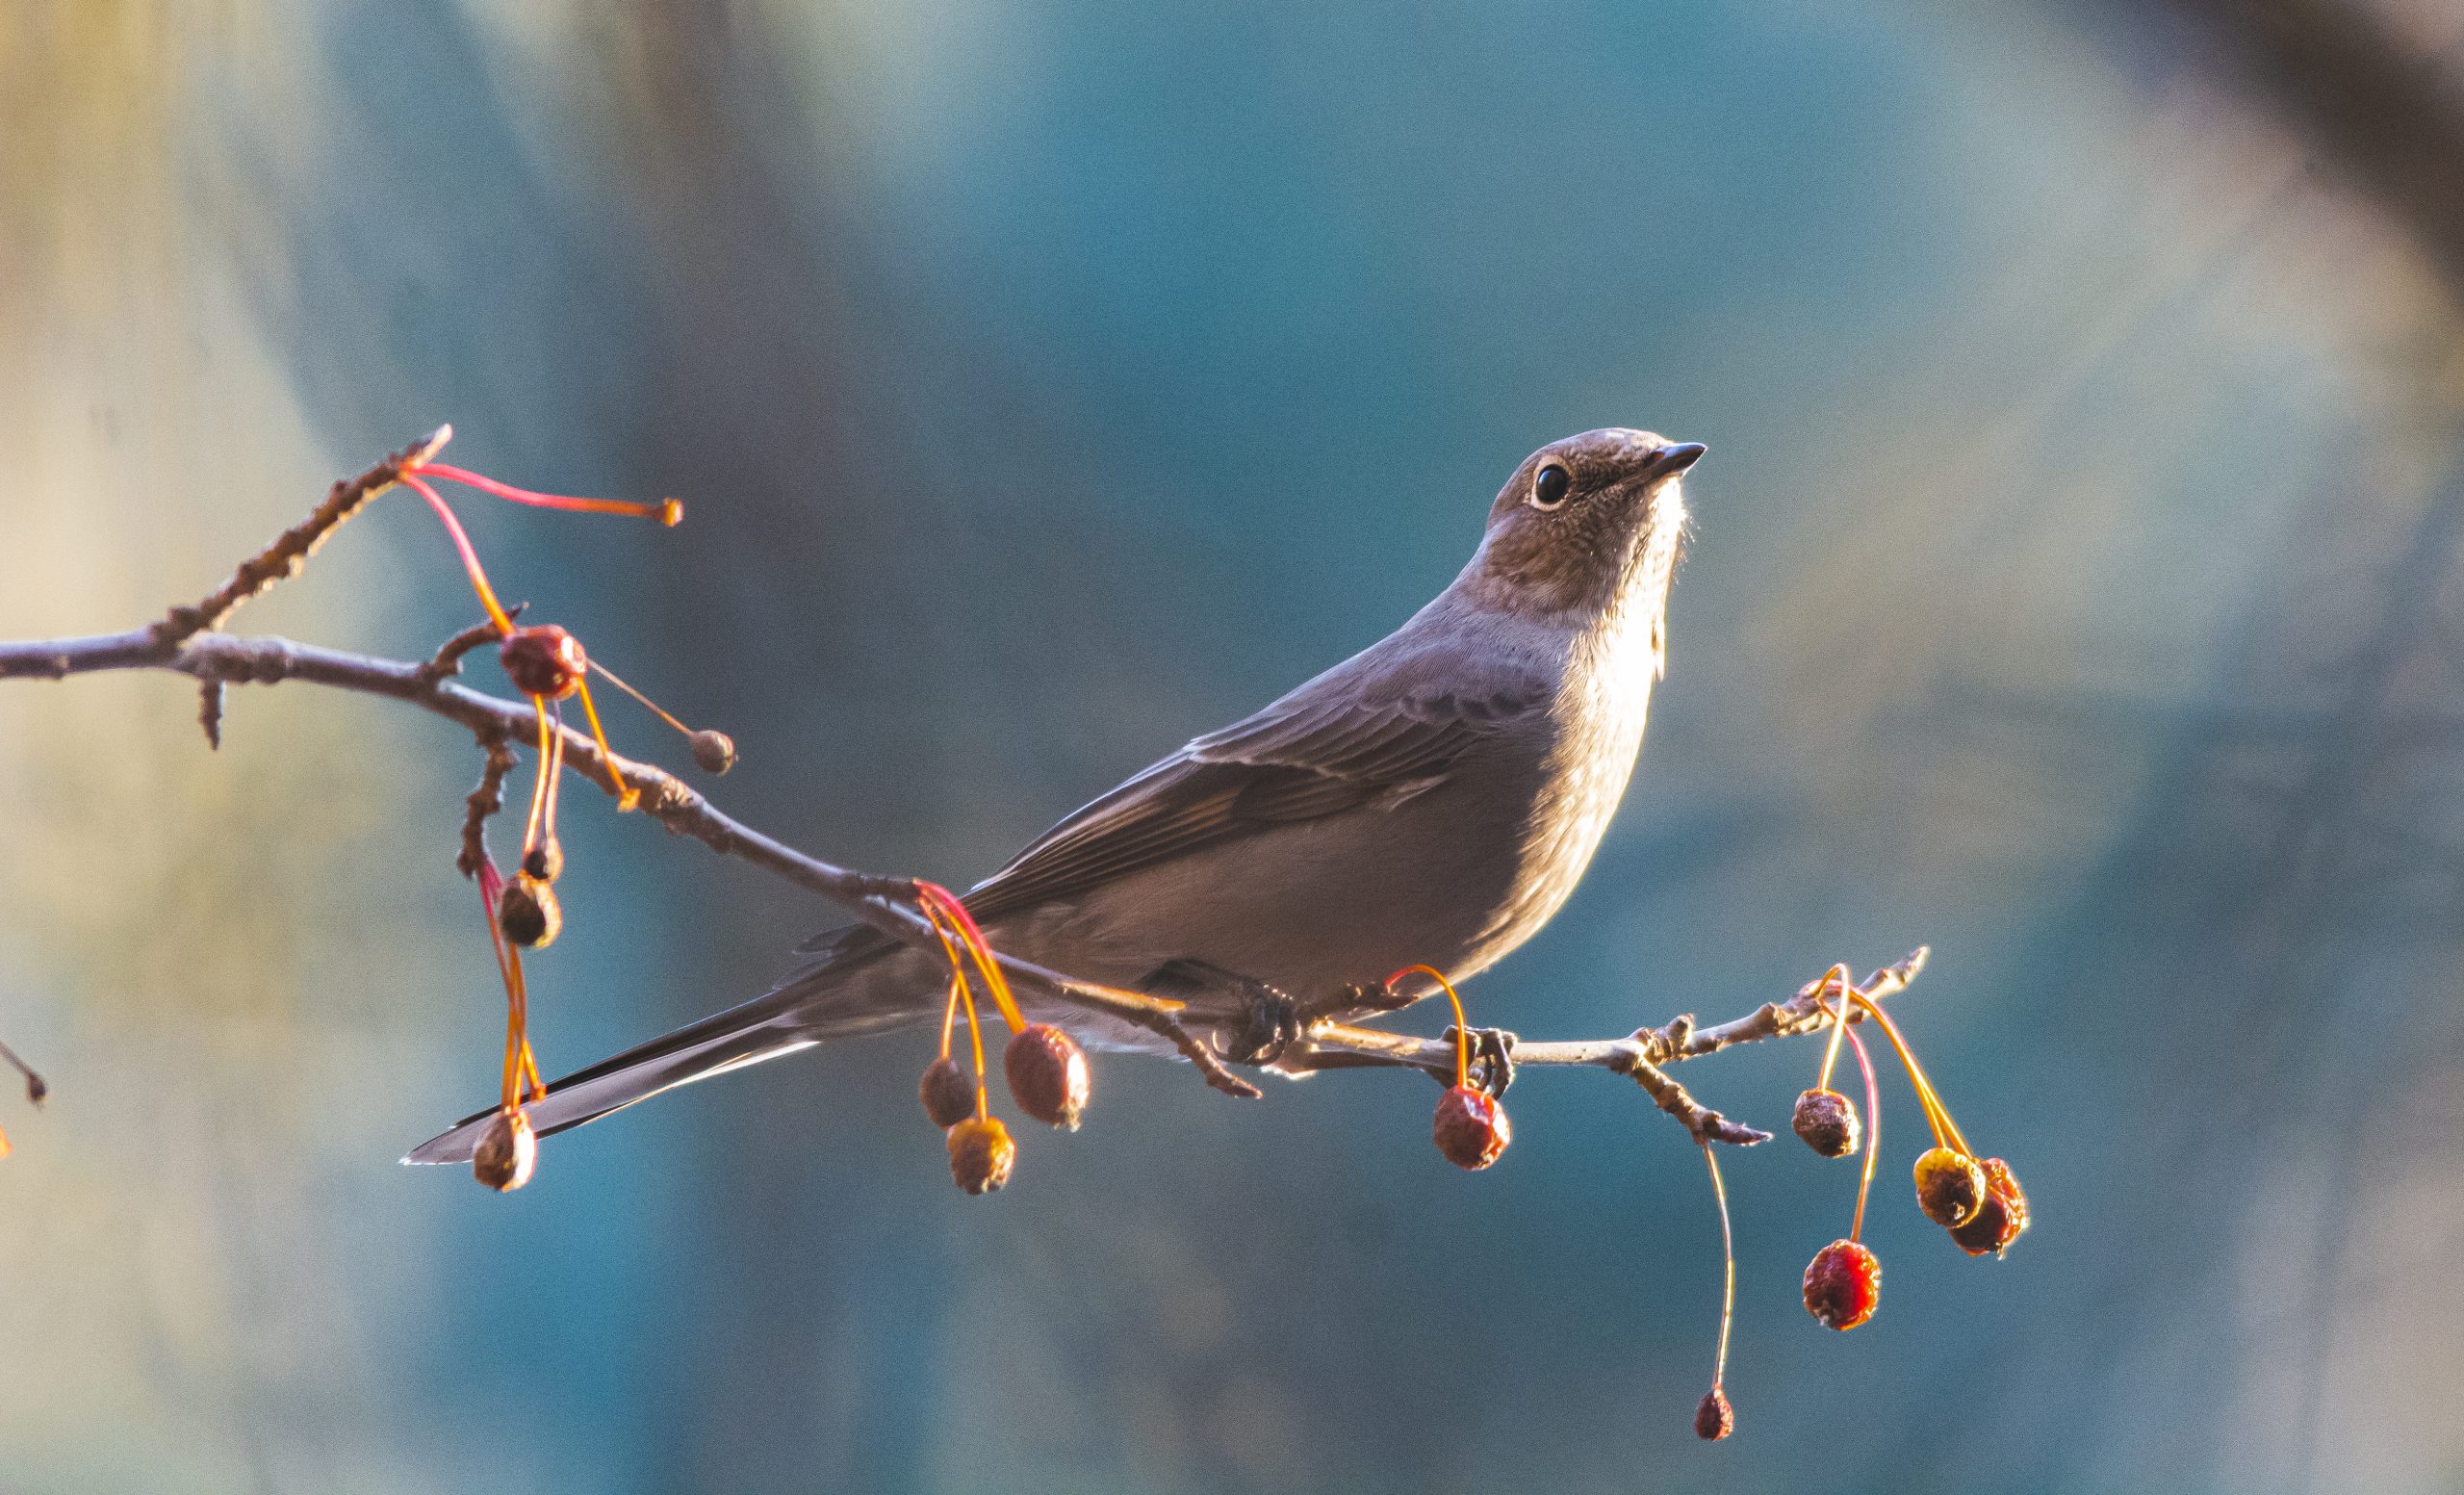
Our source of light is the sun (don’t use your camera’s flash on birds or mammals, as it stresses them out), and since we can’t control that, we’re at its mercy. Contrary to what portrait photographers want, hard direct lighting is optimal for bird photography. It brings out all the details, colours, and textures. Great for feathery subjects. Cloudy days give you images with a soft focus which often look relatively flat and dull. Try to shoot with the sun to your back so that everything in front of you is illuminated.
This isn’t always possible depending on the terrain and the position of the bird, so work with what you have. Side-lit subjects can look great when done right. New photographers often assume that you should shoot towards the sun because, well, that’s where the light is coming from. But no, you want the light reflecting off your subject and back to you, into the lens. Unless you’re going for an artsy silhouette, that is.
Because birds don’t warn us what they’re going to do next, take as many photos in as short a time span as you can. That way you stand a better chance of catching it doing something interesting. Set your camera to continuously focus and fire off shots as you hold down the shutter-release button. Quick reflexes and good luck help as well. I often come back from good bird photography outings with a few hundred photos, only a small handful of which are actually any good. This obviously eats up a lot of memory card space, so keep that in mind.
A high shutter speed (1/1000 s or more) will make sure photos of quickly-moving subjects don’t come out blurry. Set a single focus point on your camera so that it’s not deciding what to focus on for you. High shutter speeds mean less light getting to the sensor, leading to dim, under-exposed photos. To compensate, you’ll need a low f-stop value (this is what opens or closes your aperture, and controls how much light is captured in your photo). It also makes for blurry backgrounds. Such is the sacrifice we have to make, but the animal is the really interesting part anyway.
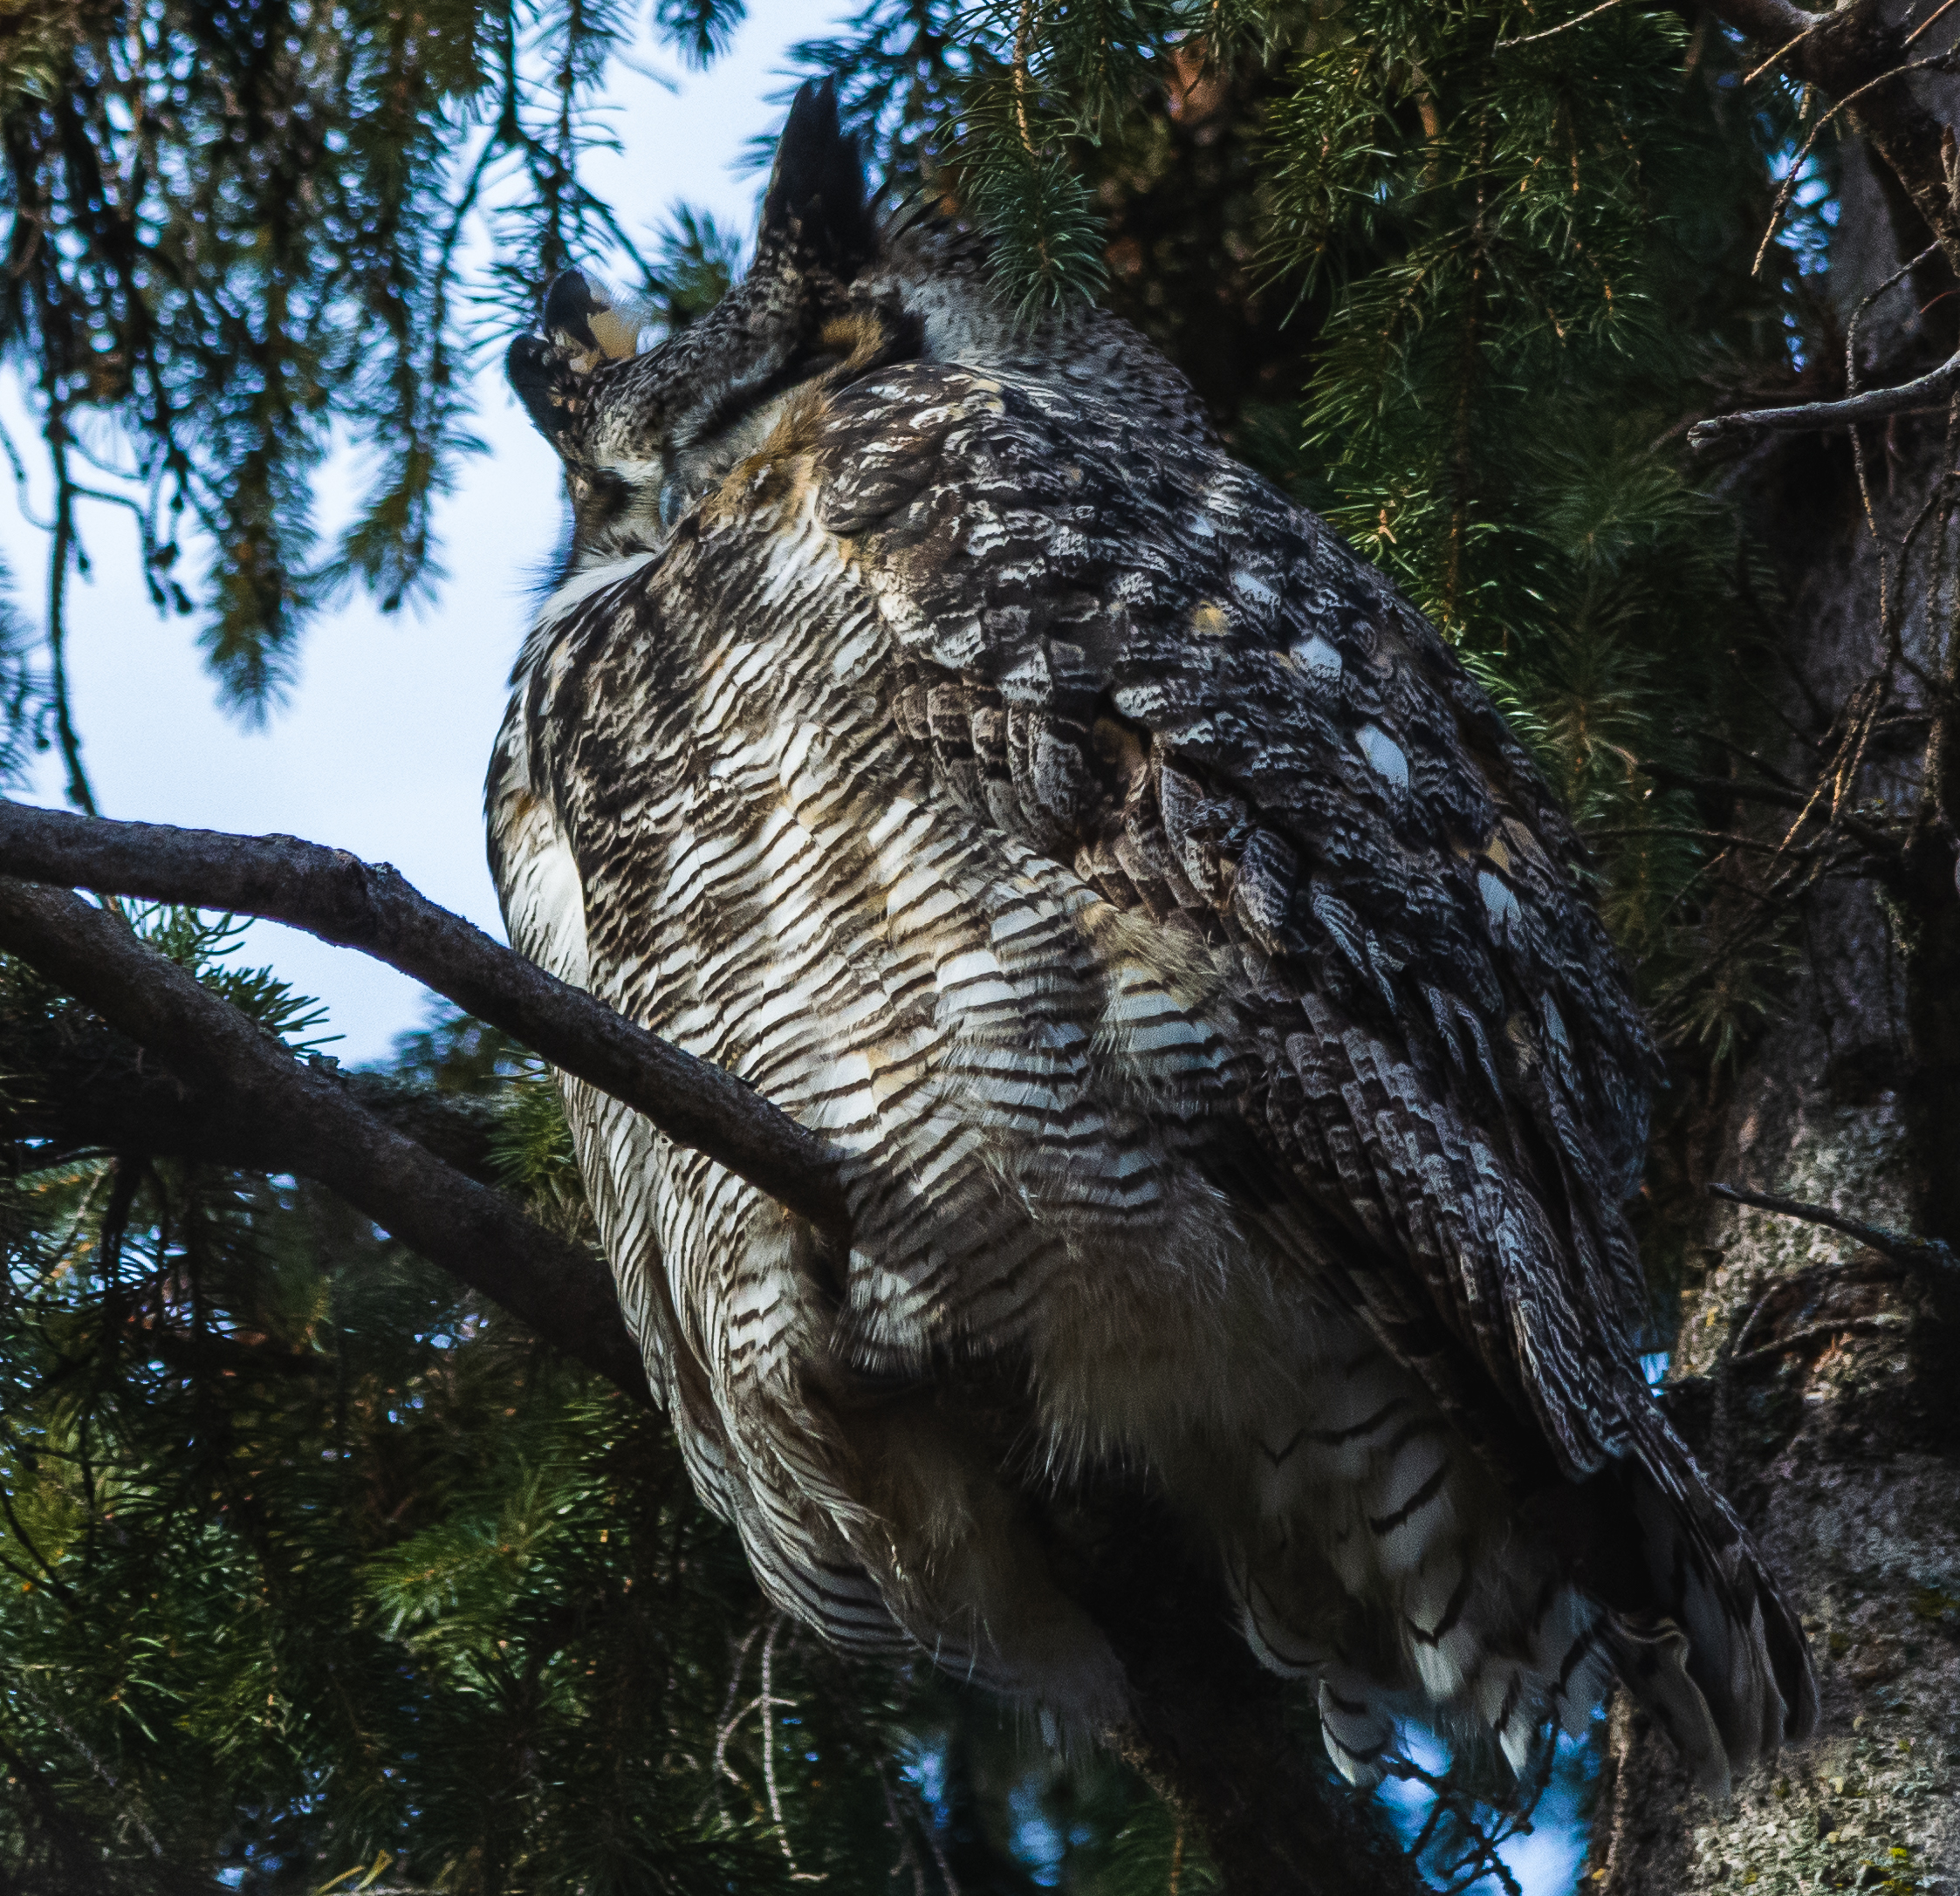
On that note, keep in mind where the bird or whatever else you’re shooting is and what it’s doing. This is the art of composition. A photo of an animal turned away with its back to the viewer is generally undesirable. A subject facing towards the camera with at least one eye visible and in focus is going to be more engaging. A shot from the animal’s level helps to bring us into its world, and most photographers have found themselves crouching, kneeling, and lying on the ground in all sorts of conditions for that perfect shot. Consider the animal’s posture and behaviour as well- what is it doing? A bird passively sitting on a branch or paddling around in the water is one thing, but if you can catch it doing something more, all the better. Stretching, flying, jumping, hunting, eating, fighting, displaying, and more are things that many people might not see animals doing all that often.
The last thing to know is the most important of all, and it’s how to do bird photography ethically. We must always put the well-being of the animals, land, and other people ahead of getting a good picture. Photography can be a wonderful method for raising awareness of conservation issues, so we should practise what we preach and not make the lives of wild animals harder in doing it. Minimise the impact of your presence in the wilderness as much as possible. When the bird paparazzi crowds appear, especially to popular yet sensitive species like owls, it causes them undue stress. Same goes for baiting, approaching too close, and general harassment of wildlife.
As you can see, this all means that you’ve really got to earn your photos. But after all, that’s half the fun of it.